DISCLAIMER: Links included in this description might be affiliate links. As an Amazon Associate, I earn from qualifying purchases. If you purchase a product or service with the links that I provide, I may receive a small commission. There is no additional charge to you! Thank you for your support so I can continue creating free content each week!
Over time, mastering the use of an RV dump station can significantly enhance your RVing experience. This guide will walk you through the crucial steps to efficiently and safely empty your wastewater tanks, ensuring you are prepared and confident the next time you find yourself at a dump station. With the right knowledge and supplies, you can tackle this necessary task with ease, making your travels more enjoyable and hassle-free.
What Is an RV Dump Station?
Before hitting the road, it’s crucial to understand what an RV dump station is. An RV dump station is a designated facility where you can empty your RV’s wastewater tanks quickly and efficiently. Knowing how to locate and utilize these stations is vital for a smooth trip.
Definition and Purpose
Dump stations provide a convenient way for RVers to dispose of black and gray water, ensuring that your RV remains sanitary and compliant with waste disposal regulations. (Choosing the right dump station can significantly impact your RV experience.)
Locations of Dump Stations
Above all, you’ll find RV dump stations at campgrounds, truck stops, and select interstate rest areas. Planning your route to include these locations will save you time and hassle.
Also, many state parks and recreational areas offer dump stations, and provincial parks in Canada usually provide a dump station, making them convenient stops during your travels. Utilizing apps or websites dedicated to RVing can help you pinpoint these valuable resources along your journey. This proactive approach can enhance your overall RVing experience.
Essential Supplies for Dumping
Any successful RV dump requires a few important supplies to make the process smooth. You’ll need an RV sewer hose, appropriate attachments, disposable gloves, and non-potable water for rinsing. Having the right equipment on hand will significantly reduce the stress of dumping your tanks.
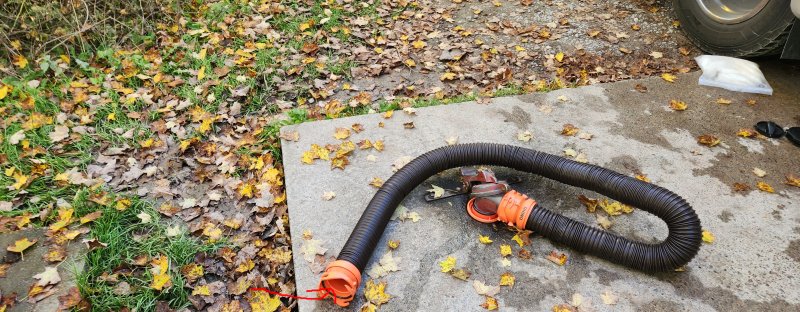
RV Sewer Hose
Above all, your RV sewer hose is indispensable for connecting your RV to the dump station. Choose a hose that fits your needs in terms of length and flexibility; a longer hose allows for easier maneuvering but may take up more space. (A good rule of thumb is to have at least 15-foot of hose.)
Attachments and Accessories
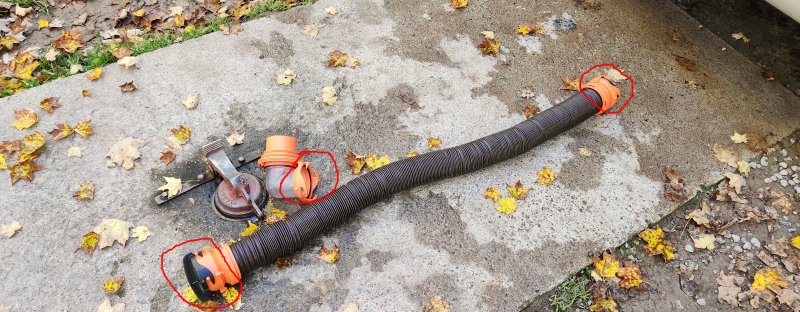
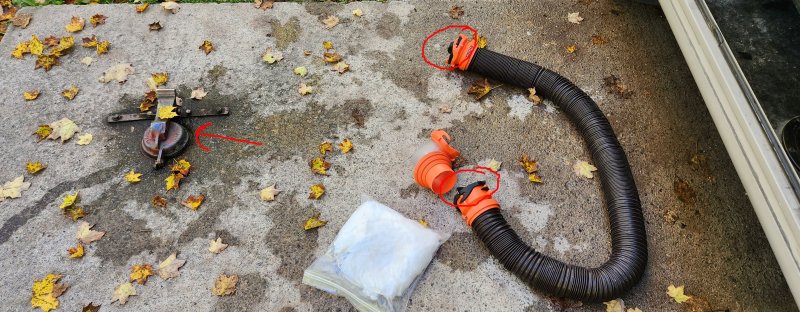
Above all else, the proper attachments and accessories will help ensure a secure connection between your RV sewer hose and the dump station. Essential items include a 4-in-1 adapter for fitting your hose to the sewer connection and a clear elbow that lets you see when your tanks are empty. These additions help prevent leaks and spills, contributing to a cleaner and more efficient dumping experience.
Due to the intricacies of RV waste management, having these attachments on hand can make the dumping process significantly easier. The 4-in-1 adapter accommodates various dump station fittings, while the clear elbow allows for visibility when your tanks are fully emptied. Consider investing in high-quality options that can withstand the wear and tear of frequent use, as they help simplify your overall experience at the dump station.
Frequency of Dumping
One key aspect of RVing is knowing how often to dump your tanks. Depending on your usage, you may need to dump your wastewater tanks frequently or less often. As a general rule, plan to dump after every weekend trip if you’re a casual user.
Weekend RVers
Frequency determines your RV experience; weekend RVers should dump after every use to prevent tanks from filling up during their escape. This practice not only ensures a cleaner RV but also enhances your next adventure.
Full-time RVers
The frequency for full-time RVers varies based on your lifestyle and waste generated. You might need to dump your tanks as required, keeping in mind your travel schedule and access to facilities.
Due to the prolonged time spent in your RV, managing tank levels becomes critical. Regularly monitor your tank readings and plan dump station visits accordingly to maintain comfort and avoid last-minute emergencies.
Step-by-Step Guide to Using an RV Dump Station
Once again, using an RV dump station may seem daunting, but following these step-by-step instructions will help you navigate the process smoothly. Preparation and understanding key procedures turn this task into a routine part of your RVing experience.
| Step | Action |
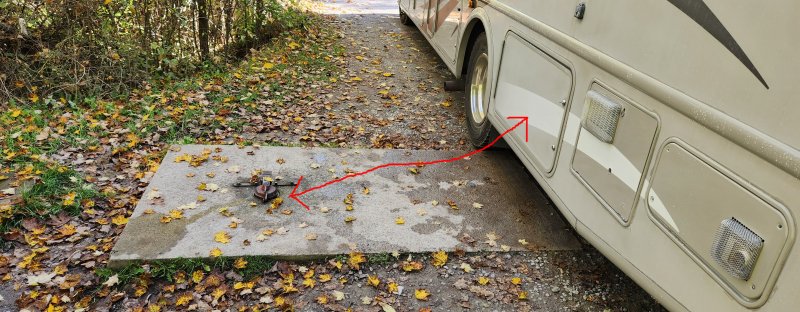
| 1 | Assess the dump station placement and align your RV accordingly. |
| 2 | Ensure your valves are closed before removing the sewer cap. |
| 3 | Connect your sewer hose and attach the proper fittings. |
| 4 | Dump the black tank first, followed by the gray tank. |
| 5 | Flush your tanks as necessary using the available resources. |
| 6 | Clean up and securely store your equipment. |

Preparing Your RV
To prepare your RV for using a dump station, start by checking your tank levels. Ensure that your black tank is full, as this is the primary tank you’ll dump first. Having the right tools, like a sewer hose and attachments, will help streamline the process. Make sure all valves are closed before disconnecting any hoses to prevent spills.
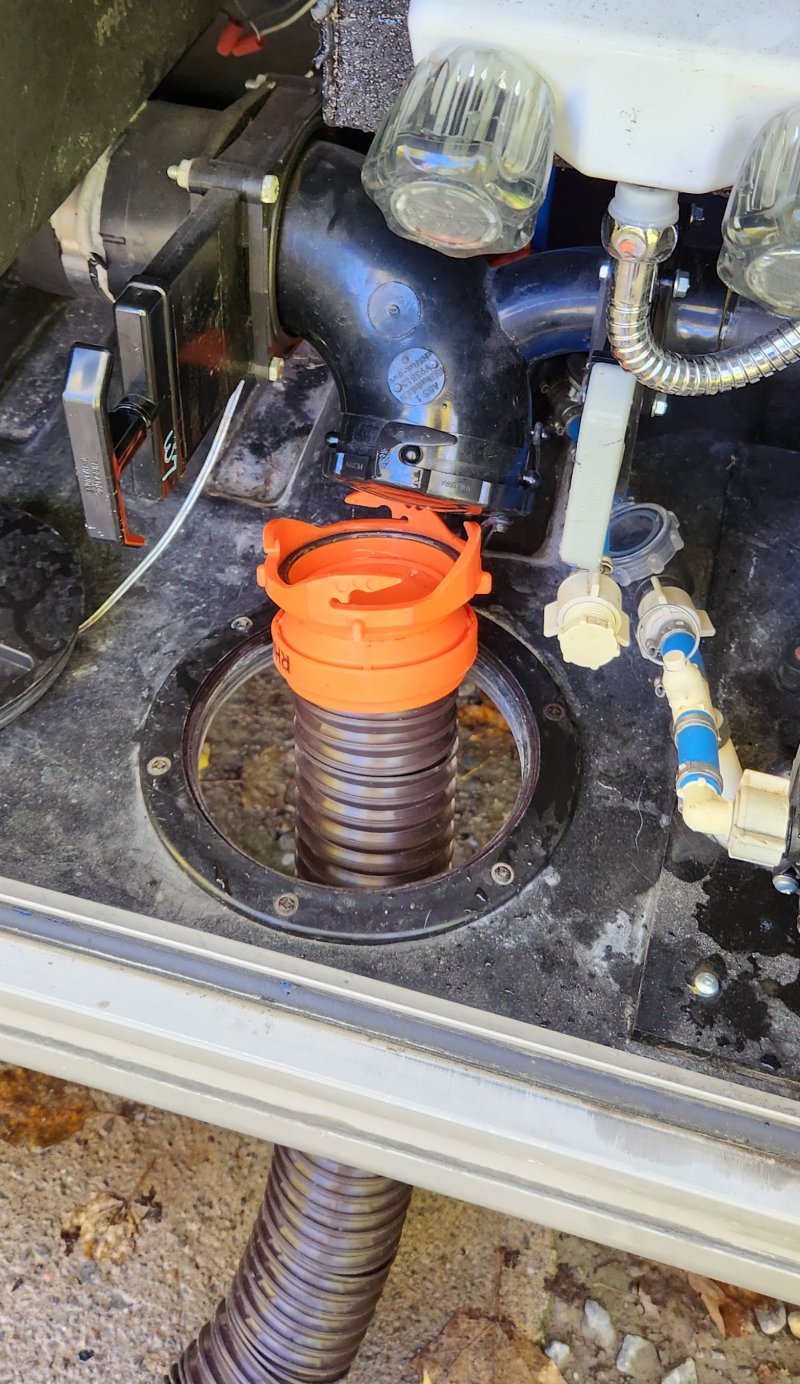
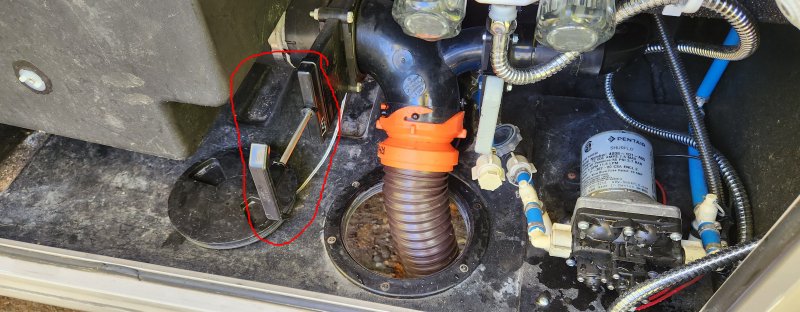
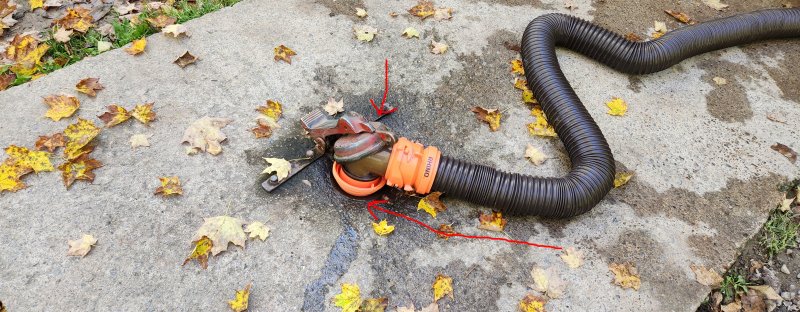
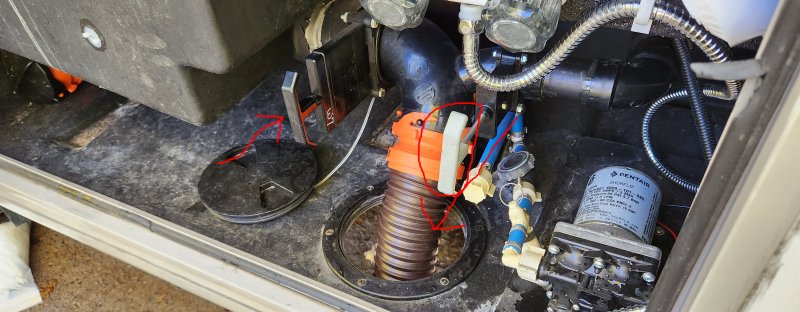
Connecting Sewer Hoses
At this point, you’ll need to connect your sewer hose to both the RV and the dump station. Make sure to attach the 4-in-1 adapter for a secure fit at the dump station side (it’s vital to prevent any leaks). Afterward, connect the other end to your RV’s sewer connection, ensuring everything is tightly sealed.
The connections are critical in ensuring an effective dump without any messy accidents. Be vigilant about inspecting all your fittings and hoses before beginning your dump process (a small leak could lead to a big cleanup). Taking the time to make sure everything is secure can save you from potential issues later on.
Dumping Procedures
One tip I’ve learned over the years is to start by pulling open your Gray tank valve, just for a few seconds, to ensure your sewer hose and your connection to the dump tank are secure. It’s much easier to make corrections (or clean up) with Gray water than Black water! This little quick 5-10 second dump of your Gray water at the start of your dumping routine can ensure you are ready to go!
Order of Tank Dumping
Dumping the black tank first is vital, followed by the gray tank. This order helps ensure a thorough rinse of your sewer hose. The fresh water from the gray tank helps flush out any residual waste from the black tank, promoting a cleaner disposal experience. Close the valve on the black tank when done, then open the gray water valve, and be sure to close it when finished.
Flushing Your Tanks
Tank flushing enhances sanitation and prevents odors from building up. (Utilizing a black tank flush, if available, effectively eliminates any lingering waste.) You can fill the tank with additional water to ensure it’s emptied completely, keeping your RV in peak condition.
The use of a black tank flush is an excellent way to maintain cleanliness. This system sprays water inside your black tank, assisting in breaking down and clearing away any remaining materials. Regularly flushing your tanks can significantly improve odor control and overall hygiene. (It’s vital to ensure your black tank is nearly full before flushing to maximize effectiveness.)
After you have completed emptying both tanks (make sure to close your valves), add a few gallons of water to your black tank (10% of your black tank capacity is recommended), followed by another dose of your RV septic tank treatment. If there’s a line-up of people waiting to use the dump station, pull forward to let the next camper use the dump station, and then add your water and RV septic tank treatment so you aren’t holding up traffic.
Clean-up and Maintenance
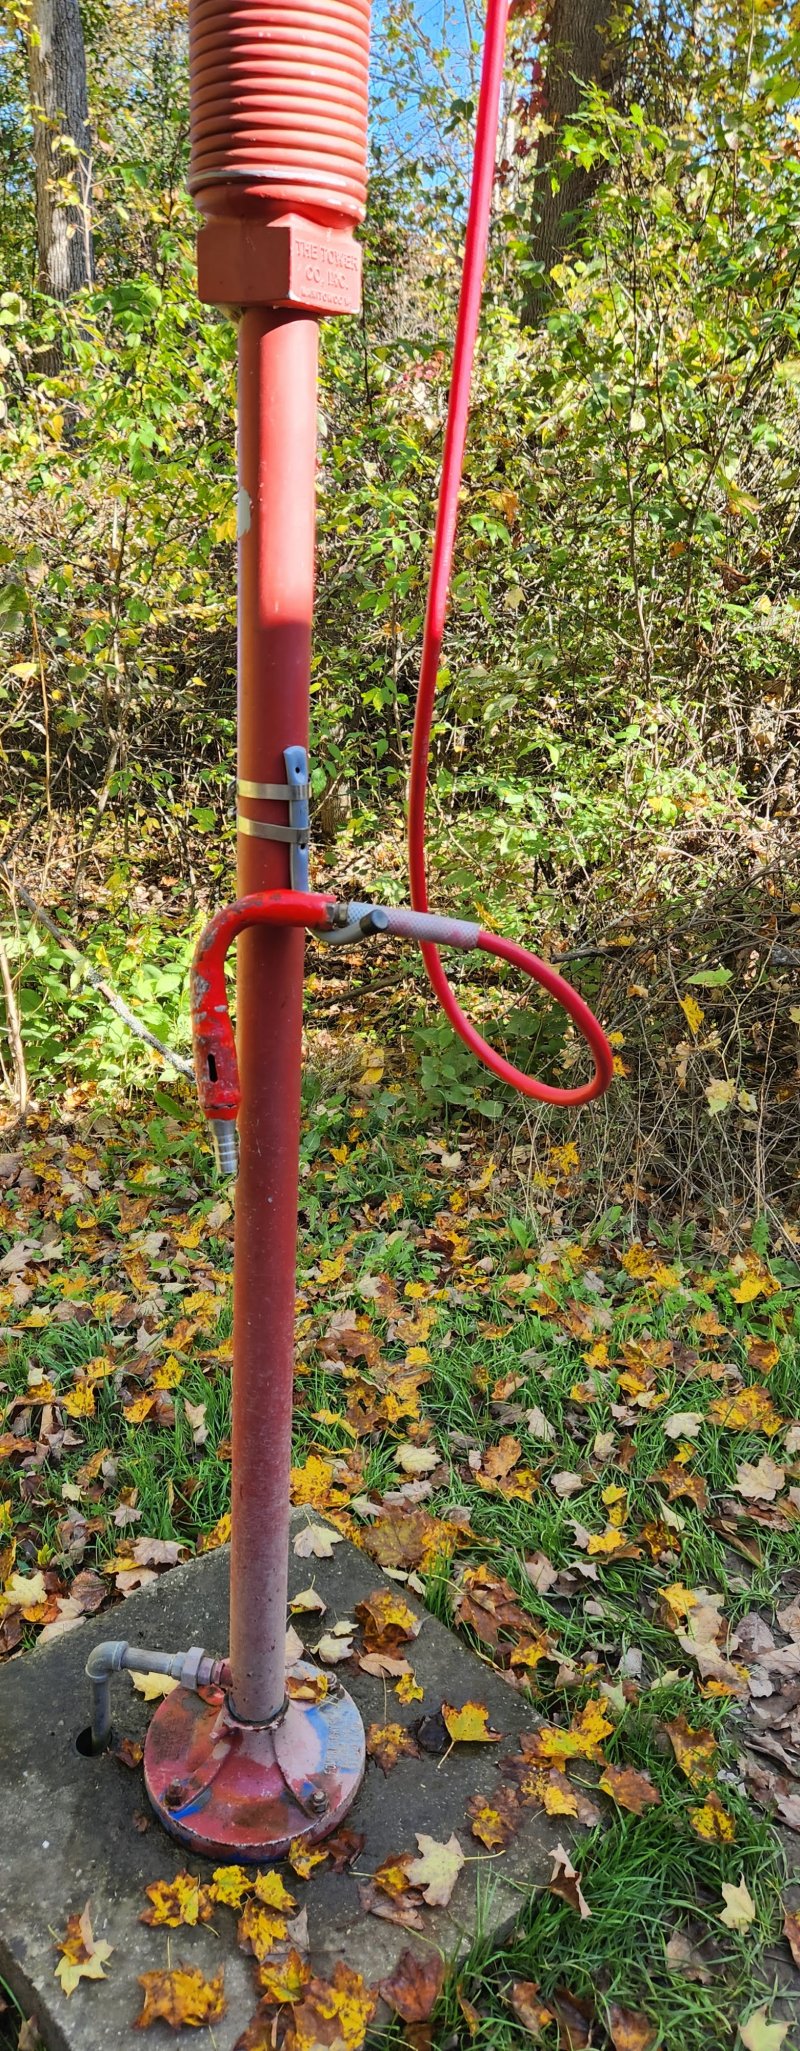
Your responsibility doesn’t end after dumping your tanks; proper clean-up and maintenance are vital for your RV and your next experience at the dump station. After use, ensure that all equipment is cleaned thoroughly to prevent residue buildup and foul odors. Always use the non-potable water supply provided at the station for rinsing your sewer hose and accessories to maintain hygiene and avoid contamination.
Cleaning Hoses and Equipment
At the dump station, take the time to rinse off your sewer hose and any attachments you’ve used. This will not only prevent unpleasant odors but also ensure that no waste is left behind, making it safer for the next user. Flushing your equipment with non-potable water will keep everything clean and ready for your next outing.
Proper Storage Practices
Between uses, storing your RV sewer equipment properly is key to prolonging its life and maintaining a clean RV. Make sure to secure your sewer hose in a designated storage compartment, ideally one that is sealed and easy to clean. (Using a dedicated tote specifically for your sewer equipment is highly advisable.)
Practices like using a durable, easy-to-clean hose container will keep your equipment secure and reduce any odors. By investing in good storage solutions, you can ensure that your sewer supplies remain ready for the next time you hit the road. (Keeping your RV organized not only enhances your experience but also minimizes the hassle at your next dump station visit.)
To wrap up
To wrap up, using an RV dump station can be a seamless experience when you follow the right steps. Start by lining up your RV with the dump station, connecting your sewer hoses securely, and dump your black tank first, followed by the gray tank. Don’t forget to flush your tanks for optimal cleanliness. After finishing, clean your hoses and the area, ensuring that you leave the station tidy for the next user. With practice, you’ll find that managing your RV’s wastewater becomes second nature.